Please download the plugin from the URL :: Codestyling Localization
While get in touch with WordPress you will find out, that the initial delivery package comes only with english localization. If you want WordPress to show your native language, you have to provide the appropriated language file at languages folder. This files will be used to replace the english text phrases during the process of page generation.
The basis for translations are language files defined as *.po format (portable) or *.mo format (machine object), which helps software to get translated on the fly.
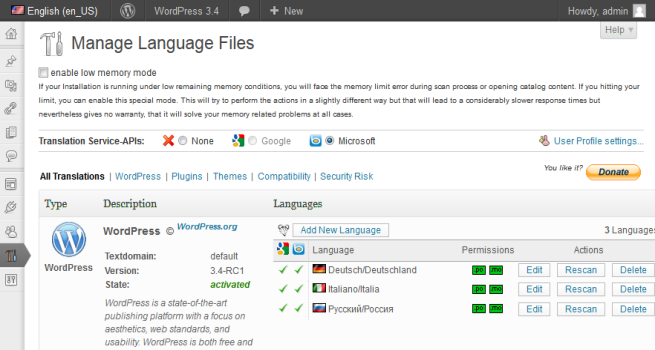
The Plugin Mainpage – The Beginning
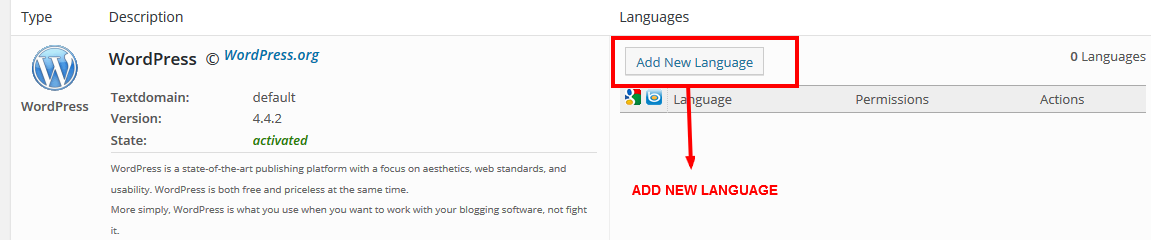
If you have installed plugin very first time you can see the “Add New Language” button to add new language as it may be not the language or the language you want to display.
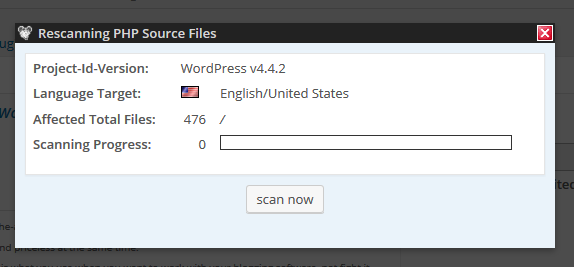
After Pressed on “Add New Language” button you can see below pop up and from where you should select your local language and Press button “create po-file“.

It will give you generated “PO” file in your plugin/theme/wordpress folder. If the PO file is not in the plugin/theme/wordpress “languages” folder, then you should manually add the “PO” to plugin/theme/wordpress “languages” folder.

Now You should Press “Rescan” button and see below image. and then press “Scan Now” button to scan all localization (translatable) words.
Once the Scan process complete you should manually press “finished” button.
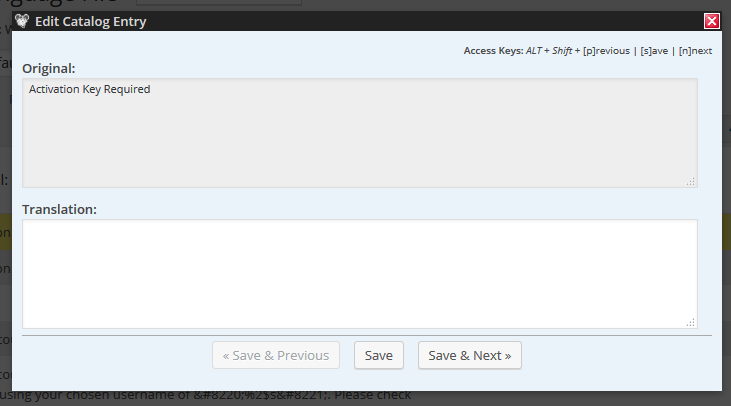
Press “Edit” button to start the words to translate as per your language.
See how the Default PO file will display.
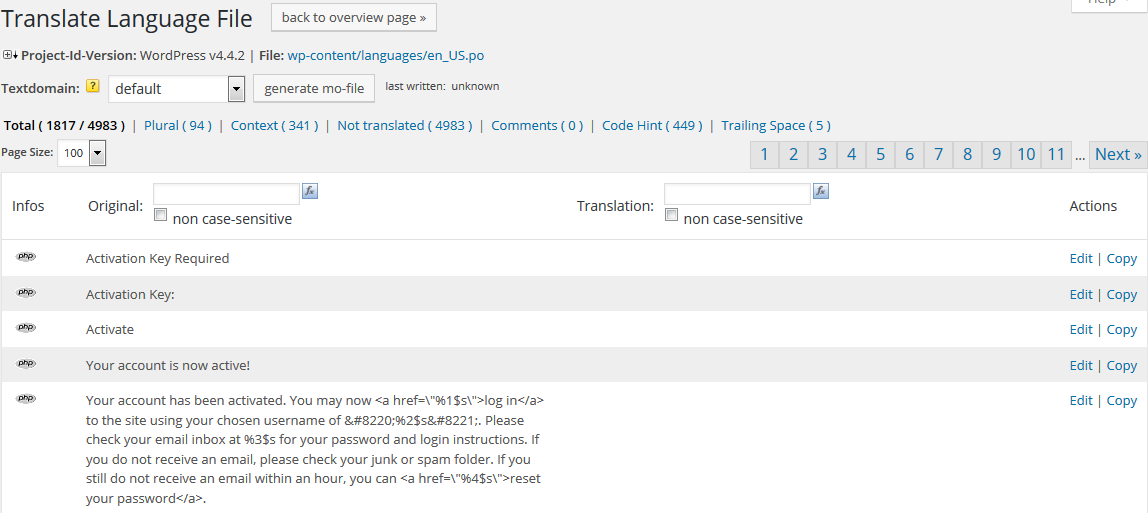
If you want to edit/add your word to local language you should press edit once and continue as per next settings…….
Once all words translated you should convert the file to “.MO” file as per below image.

THAT’S ALL
Get more details from : http://www.code-styling.de/english/development/wordpress-plugin-codestyling-localization-en


