Paid WordPress plugins are not listed in the WordPress plugin directory. That’s why WordPress has the Upload method to install such plugins. We will show you how to install WordPress plugin using the upload option in the admin area.
First, you need to download the plugin from the source (which will be a zip file). Next, you need to go to WordPress admin area and visit
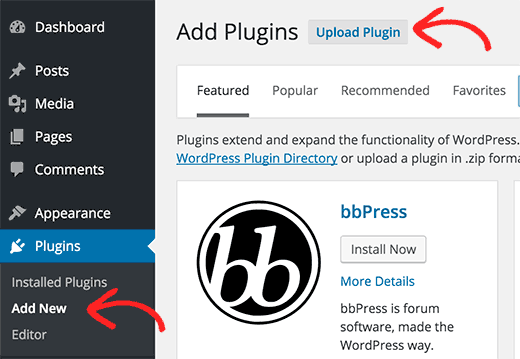
Plugins » Add New page.
After that, click on the Upload Plugin button on top of the page.
This will bring you to the plugin upload page. Here you need to click on the choose file button and select the plugin file you downloaded earlier to your computer.

After you have selected the file, you need to click on the install now button.
WordPress will now upload the plugin file from your computer and install it for you. You will see a success message like this after installation is finished.
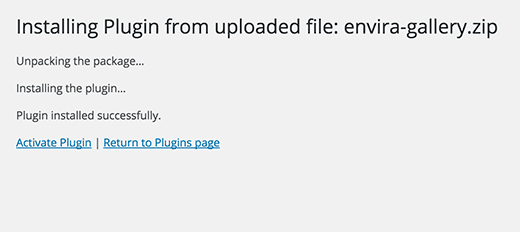
Once installed, you need to click on the Activate Plugin link to start using the plugin.
You would have to configure the settings to fit your needs. These settings will vary for each plugin therefore we will not be covering that in this post.
Manually Install a WordPress Plugin using FTP
In some cases, your
WordPress hosting
provider may have file restrictions that could limit your ability to install a plugin from the admin area.
In this situation, your best bet is to install the plugin manually using FTP.
The FTP manager method is the least friendly for beginners.
First you will need to download the plugin’s source file (it will be a zip file). Next, you need to extract the zip file on your computer.
Extracting the plugin zip file will create a new folder with the same name. This is the folder that you need to manually upload to your website using a
FTP client
.
You would need to access your host through the FTP manager. If you do not have your FTP username and password, then contact your
WordPress hosting
provider and ask them.
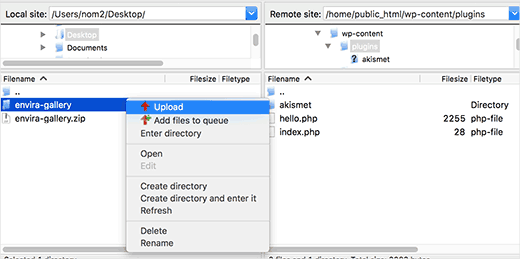
Open the FTP client on your computer and connect to your website using the login credentials provided by your web host. Once connected, you need to access the path
/wp-content/plugins/
Next, upload the folder you extracted from the zip file to the
/wp-content/plugins/
folder on your web server.
After uploading the files, you need to visit the WordPress admin area and click on the
Plugins
link in the admin menu. You will see your plugin successfully installed on the plugins page.
You need to click on the Activate link below the plugin. Upon activating, you may need to configure the plugin settings. WordPress plugins come with their own settings which differ from one plugin to another so we will not describe them here.
We hope this helped you learn how to install WordPress plugins. You may also want to see our plugins category where we write about the
best WordPress plugins
that you can use to accomplish whatever you’re looking to do. Each of those articles come with step-by-step instructions on how to setup individual plugins.


